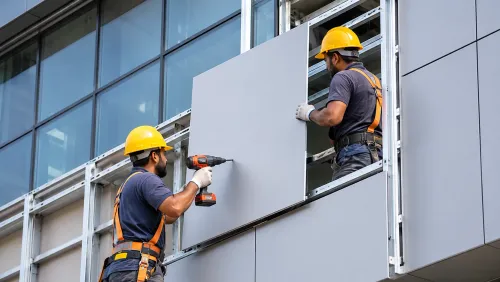
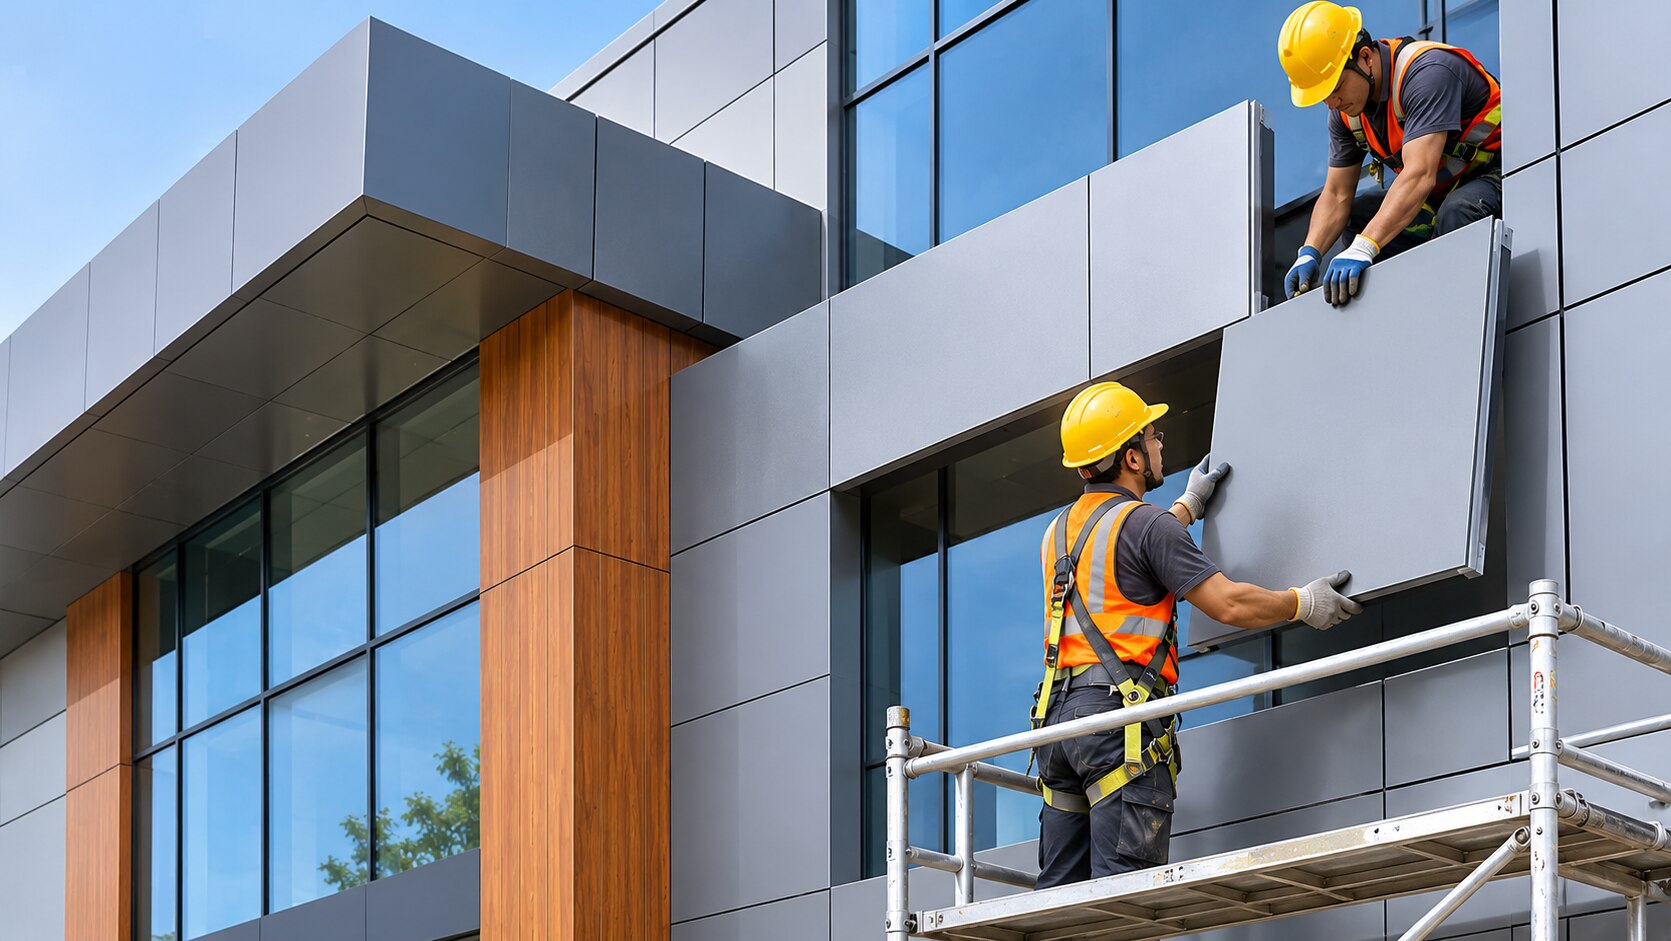
A durable commercial facade depends on decisions made before the first bracket is fixed: the structure must be surveyed, the cladding system must match the building and the fire strategy, and every drainage, movement and fixing detail must be coordinated. By the end, you will know what to check in a facade proposal, how to compare system options, and which installation records and tests protect the finished exterior.
Key takeaways
- Survey slab edges, anchors, openings and services before fabrication.
- Choose curtain-wall systems for building height, repetition and site exposure.
- Specify tested ACP assemblies with drainage, fire performance and movement tolerance.
- Require testing, snagging records and maintenance documents at handover.
Start with a Surveyed Structure and a Coordinated Installation Workflow
Before fabrication starts, establish a verified installation baseline. A site survey must record the structure’s plumb, slab-edge alignment, opening sizes, embed locations and concealed services that could obstruct anchors. Take facade measurement from transferred benchmark lines on every elevation, not from assumed drawings.
Use this facade installation workflow:
- Confirm the structural survey, design loads, access, lifting route and installation sequence.
- Check concrete slabs, beams, masonry and steel frames for strength, alignment and anchor clearance. Do not use panels to hide out-of-tolerance structure.
- Coordinate brackets, anchors, subframes, cavity barriers, flashings, drainage paths, glazing and sealant joints with the architect, structural engineer and services team.
- Issue shop drawings showing fixing points, panel joints, corner details, movement gaps, fire-stopping, weeps and interfaces with windows and roofs.
- Obtain approval for materials, finishes, fasteners, setting blocks and isolation details. Separate aluminium from carbon steel, galvanized steel and copper where wet contact could cause corrosion.
- Release fabrication only after drawings and measured dimensions are approved. Route and fold ACP panels to those dimensions; do not force cassettes into position.
- Set out benchmark lines, install brackets and frames, then verify line, level, plumb and drainage before closing the cavity.
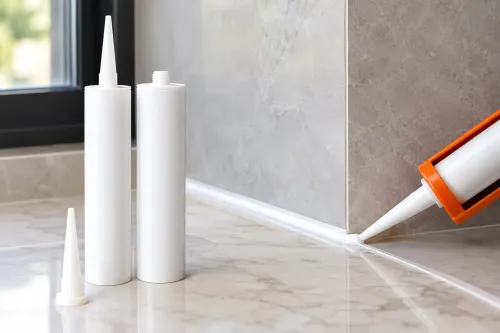
- Install glazing on compatible setting blocks at designed support points, followed by panels, flashings and sealants.
- Plan inspection, snagging, handover records and field tests. ASTM E1105 checks water penetration; ASTM E783 checks air leakage, so passing one does not prove the other.
Installation should begin only after the substrate, drawings, materials and access plan are signed off.
Match the Curtain-Wall System to Height, Repetition and Site Conditions
Choose a stick curtain wall for irregular elevations and smaller or lower-rise projects where installers can work from each floor. Choose a unitized curtain wall for tall, repetitive buildings where factory assembly, rapid floor-by-floor installation and limited site storage outweigh transport and crane requirements.
Semi-unitized glazing sits between them, using factory-glazed modules with more site-installed framing or connections.
| System | Best fit | Main constraint |
|---|---|---|
| Stick curtain wall | Varied grids, modest repetition, accessible floors | More site labour, weather exposure and alignment work |
| Unitized curtain wall | Tall, repetitive elevations and tight programmes | Needs accurate surveys, transport, lifting space and tight tolerances |
| Semi-unitized glazing | Repeated bays with some site flexibility | Connection details and interfaces require careful coordination |
Every option must transfer wind, dead and movement loads into the building’s structural frame, not merely into infill masonry or a thin edge finish. Typical supports include concrete slab anchors at slab edges, brackets fixed to reinforced-concrete beams, or engineered connections to structural steel; a designed subframe can then carry mullions, transoms and panels.
Before fabrication, check slab-edge position, plumb, level, floor-to-floor dimensions, concrete strength, anchor pull-out capacity and concealed services. Record deviations rather than forcing frames into place. Check positive wind pressure and suction, especially at corners and parapets, because bracket capacity, fastener spacing and substrate strength—not mullion or glass size alone—control the result.
Where masonry must support a facade, obtain a specific structural design and verified anchor data.
Specify ACP as a Tested, Drained and Movement-Tolerant Assembly
A safe ACP facade is specified as an assembly, not by ACP panel thickness alone. Check positive wind pressure and suction, including corner, parapet and edge zones, against panel width, rail spacing, cassette geometry, fastener pull-out, bracket capacity and substrate strength.
Define the aluminium skin thickness and anchor edge distances; a thicker sheet cannot rescue a weak fixing or concrete substrate.
| Detail | Specify | Failure if missed |
|---|---|---|
| Wind resistance | Pressure and suction calculations for each zone | Cassettes pull away or oil-can |
| Movement | Fixed points, sliding restraints and open joints | Thermal loads distort panels or sealants |
| Drainage | Sloped trays, weeps and unobstructed cavity paths | Water remains behind the cladding |
| Fabrication | Routed and folded cassette with approved groove, radius, return and edge dimensions | Returns crack, weaken or lose stiffness |
Aluminium moves about 23 × 10⁻⁶ per °C: a 3 m panel across a 60°C change moves about 4.1 mm. Keep that movement out of glazing and sealants, and never force a cassette into an inaccurate frame; preloaded brackets close drainage gaps and make replacement difficult.
Specify facade fire performance for the complete tested wall build-up: ACP, insulation, membranes, cavity, subframe, fixings, joints and fire-stopping. NFPA 285, where applicable, tests assembly fire propagation, not the panel alone.
Cavity barriers at floors, separating walls and openings must match the tested detail while preserving ventilation and drainage; an arbitrary mineral-wool strip can obstruct both.
Require shop drawings showing panel identification, joints, restraints, sealant access, removable panels and replacement sequence. Any change to the core, insulation, cavity depth or fixing detail needs technical review before fabrication because it can invalidate fire and weather evidence.
Compare ACP with Glass, Solid Aluminium, HPL, Stone, Terracotta and Render
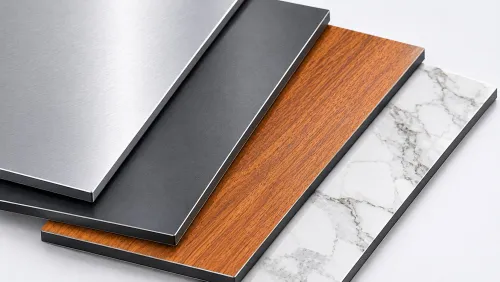
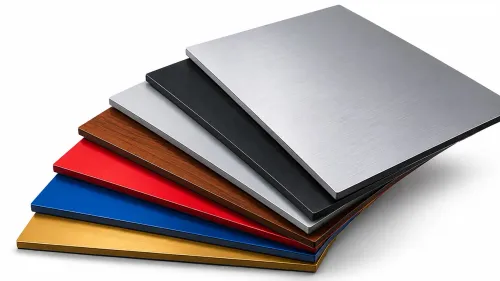
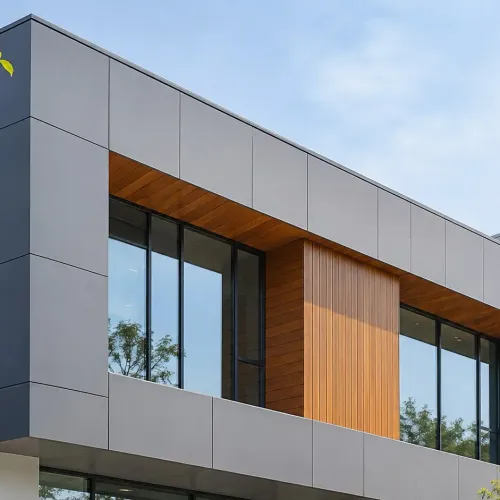
ACP is the practical choice when you need a light, colour-consistent rainscreen with fast fabrication, folded details and manageable loads on the supporting structure. This ACP cladding comparison changes when fire evidence, impact resistance, material authenticity or long-term surface stability dominates the brief.
| Material | Main advantage | Select it when | Choose another when |
|---|---|---|---|
| ACP | Low weight, clean geometry and efficient fabrication | The design needs large-format panels, signage zones or economical repeated elevations | The tested wall build-up does not support the required fire classification |
| Glass | Daylight and transparency | The building needs views, daylight or a fully glazed curtain wall | Solar gain, glare, privacy or high cleaning access makes transparency unsuitable |
| Solid aluminium panels | Greater dent resistance and robust folded forms | Exposed edges, high traffic or premium metal detailing justify added weight and cost | A lightweight, cost-controlled envelope is the priority |
| HPL facade | Textured, timber-look or solid-colour finishes | The brief values tactile appearance and a non-metallic surface | Fire, moisture exposure or limited edge protection restricts the selected board |
| Stone facade | Mass, permanence and natural variation | The project demands a stone facade and the structure can carry its weight | Programme, lifting access or structural capacity is tight |
| Terracotta | Ceramic colour stability and a distinctive modular appearance | A ventilated ceramic rainscreen suits the architectural character | The programme needs rapid custom folding or tight budget control |
| Render | Continuous, monolithic appearance | The substrate is stable and the design accepts wet-trade maintenance | Movement, impact or cracking risk is high |
Do not select by panel appearance alone. Confirm the complete tested assembly, including insulation, cavity, membranes, fixings and joints, then compare maintenance access, replacement method and local fire requirements before approving the material.
Control Installation Quality Through Testing, Snagging and Handover
Accept the facade only after the installed assembly has passed documented checks for alignment, air leakage, water penetration, structural movement, fire-stopping and glazing details—not after it merely looks straight from the ground.
1. Survey each elevation against the approved shop drawings. Record benchmark levels, plumb, slab-edge position, joint widths and anchor locations. Stop installation where brackets are forced into alignment; that can preload fixings, distort panel joints and remove drainage clearance.
2. Inspect concealed work before closing it. Confirm anchors, subframes, membranes, cavity drainage paths and fire barriers match the tested detail. An untested mineral-wool strip can block drainage or fail at a movement joint.
3. Run facade water testing with a calibrated spray rack and pressure chamber. ASTM E1105 tests water penetration through installed windows, curtain walls and doors under a pressure difference. Investigate every leak, then retest the repaired area.
4. Measure installed air leakage separately under ASTM E783. A dry result under ASTM E1105 does not prove airtightness.
5. Check glazing against the project design: glass bite, edge clearances, anchors, sealant, and compatible setting blocks at the specified support points. Verify structural and non-structural glazing separately. ASTM E330/E330M assesses deflection and structural performance under uniform static air pressure; it does not replace these detail checks.
6. Close snags by elevation, retain test reports, photographs, material approvals and as-built drawings, then record warranties, cleaning instructions and maintenance access at handover.
Qishma Decor’s role in ACP and glazing work should include this evidence trail, not just installation completion. Ask for signed inspection records before releasing the final payment.
Related products
 | Facade Work ₹200 QISHMA DECOR, your expert in facades and windows. Since 2016, our company has covered over 8 lakh square feet of facade work till date View product → |
 | GLAZING ₹800 Semi-unitized glazing is a high-performance facade system that combines the structural benefits of Unitized systems with the on-site flexibility of... View product → |
Frequently asked questions
What must a facade survey record before fabrication begins?
Record the structure’s plumb, slab-edge alignment, opening sizes, embed locations, benchmark lines and concealed services that could obstruct anchors.
How do you choose a curtain-wall system for a commercial building?
Match the system to building height, facade repetition, wind exposure, drainage requirements, access constraints and site conditions.
What should an ACP facade specification include?
Specify tested panels, the complete support and fixing assembly, drainage paths, fire performance, joint design and tolerance for thermal and structural movement.
What should happen before a facade installation is handed over?
Complete installation testing, record defects in a snagging list, close each item, inspect finishes and hand over maintenance and product documentation.